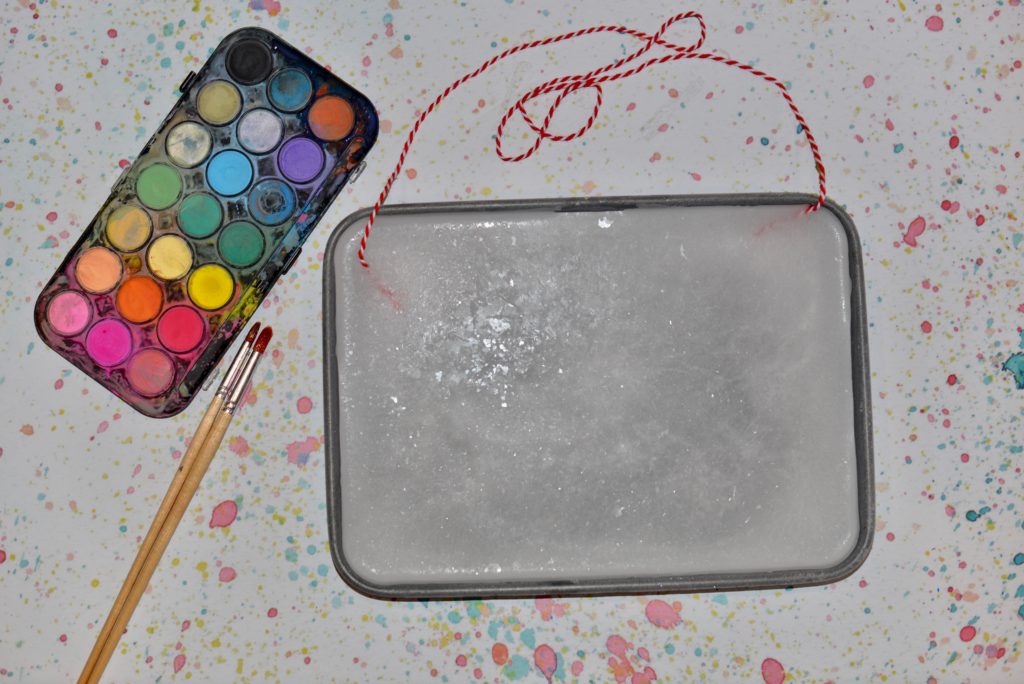
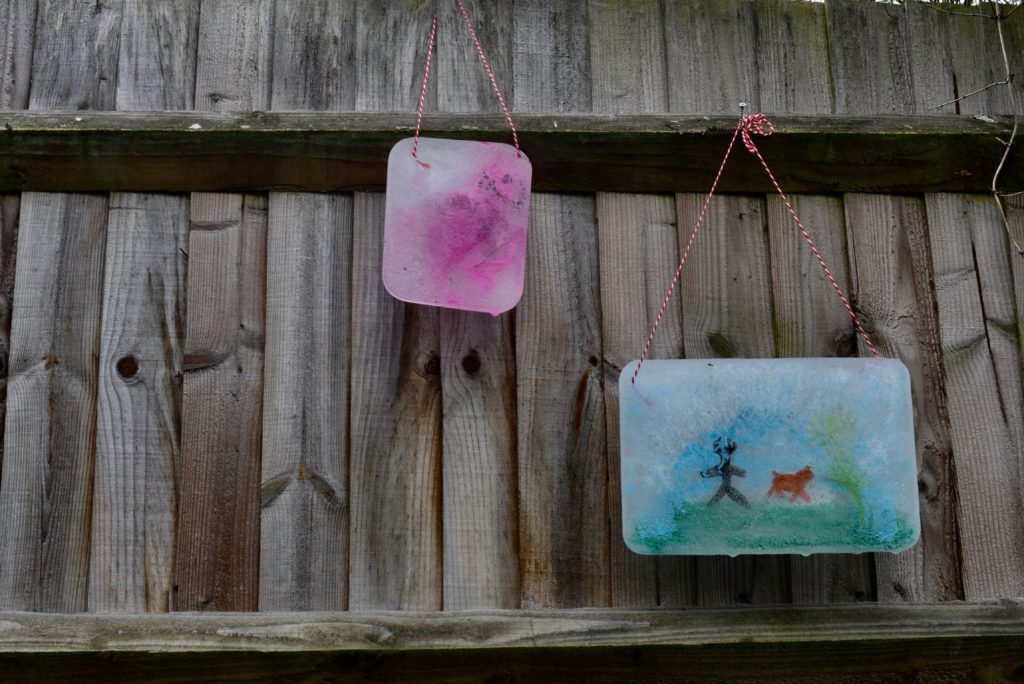
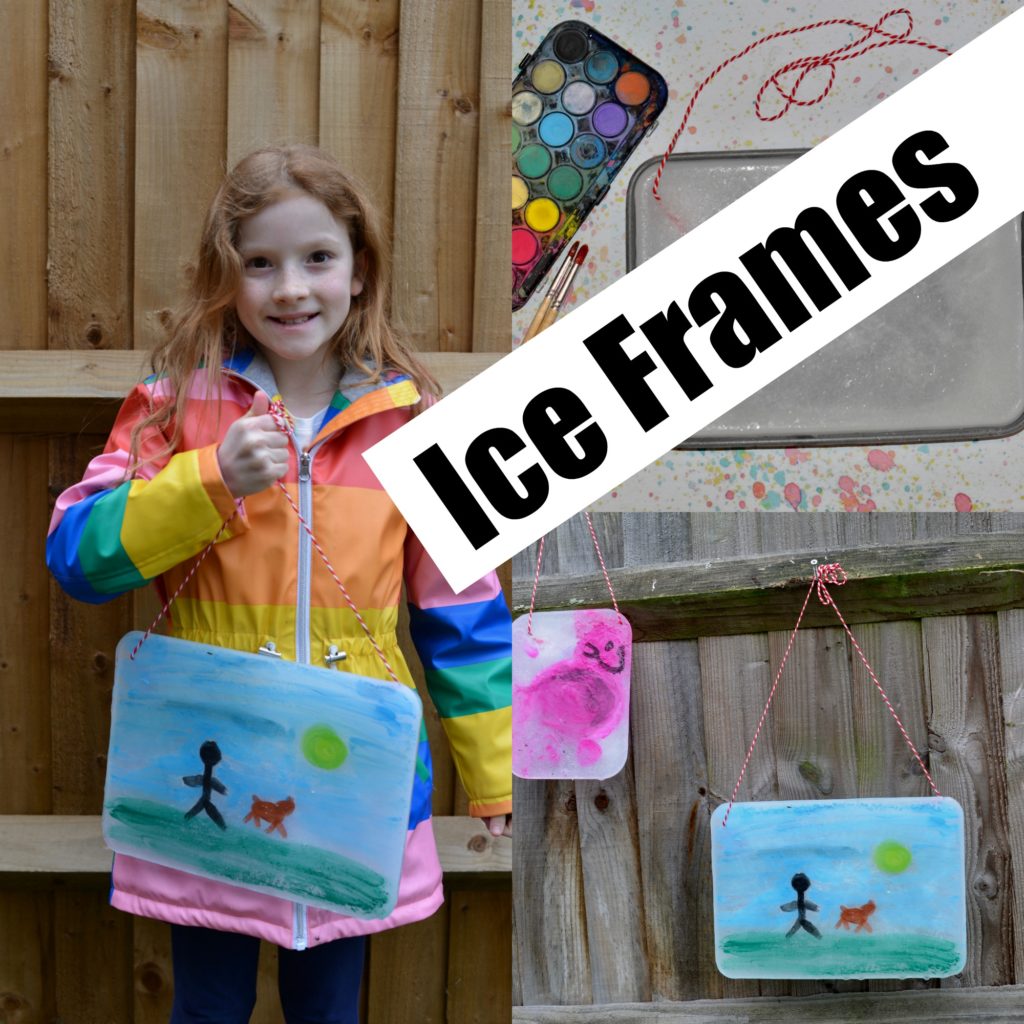
We first tried painting on a sheet of ice many years ago, but as my littlest loves to paint I set it up last weekend to try with him. I made it slightly different this time by adding string to the top so we could hang our beautiful ice pictures up afterwards and watch what happened as the ice melted ( the ice sheets were actually quite heavy, so don’t hang them anywhere they could fall on someone ).

You need to let the ice melt a little first or the paintbrush sticks to the ice, which my 1 year old thought was hilarious. I think for him that was actually the highlight of the afternoon.
The paintbrush sticks to ice rather like fingers stick to ice when you first take it out of the freezer. This is because the ice freezes moisture in skin ( or on a damp paintbrush ) making it stick to the ice.
The best thing about ice painting is you can paint on the ice over and over again, just wipe it clean and start again.
Another fun idea is to press a clean sheet of white paper over your ice picture, press down hard and leave to dry. You can then use this as a background for a picture drawn with pens or felt tips.

Things to think about and questions to ask
How does the ice feel as the paintbrush moves over it? It should feel a bit sticky to begin with, maybe the paint will even freeze as you paint, but as the ice starts to melt, the paintbrush should start to glide over the ice more easily.
What happens to the paint as it mixes with the water? Do the colours become more dilute?
Can you use the ice as a medium for mixing colours? Start with the three primary colours ( red, blue, yellow) and go from there.

More science experiments for kids
Try some colour mixing with water using food colouring, water and pipettes to make primary and tertiary colours.
How about some more experiments with ice?
Discover why salt melts ice with this easy activity.

Last Updated on April 8, 2019 by Emma Vanstone

Brilliant idea! Thanks so much for sharing =)