Microscopes are used to see cells and other small things in detail. They are used to produce magnified ( enlarged ) images.
The Romans first used glass to magnify images in the 1st Century, but the first microscope with a lens in a tube wasn’t made until the 1590s.
Microscopes have continued to improve over the years and we can now get a magnification of x1500 with a light microscope!!
There are two main types of microscopes.
Light Microscopes
Light microscopes are used to look at cells when a relatively low magnification and resolution is all that’s needed.
Electron Microscopes
Electron microscopes are used when a higher magnification and resolution are needed. They use a beam of electrons instead of rays of light.
Samples have to be placed in a vacuum which means living cells cannot be viewed this way.
What is magnification?
Magnification is the amount an object is enlarged, but just increasing the magnification doesn’t always mean you can see more detail. To see detail you need good resolution.
What is resolution?
Resolution is the detail of an image that can be seen under a microscope.
A light microscope has a resolution of around 200 nanometers which means it cannot distinguish anything between those points.
Electron microscopes have a resolution of less than 1 nanometer!

What is microscope slide?
A microscope slide is a very thin piece of glass used to hold the object that is to be viewed. They usually have another smaller, very thin piece of glass called a coverslip which fits on top of the sample.
Sometimes chemical stains are used to make sections of the cell easier to see. Iodine and methylene blue are often used.
How to use a Microscope
Carefully place your prepared slide onto the stage ( flat bit under the lenses ).
Angle the mirror or light so it is shining light through the hole in the stage.
Start with the lowest powered lens, this allows you to see more of the slide.
Look down the eyepiece and turn the focusing knob until the image looks clear.
Try with different ( higher powered ) objective lenses until you get a clear image.
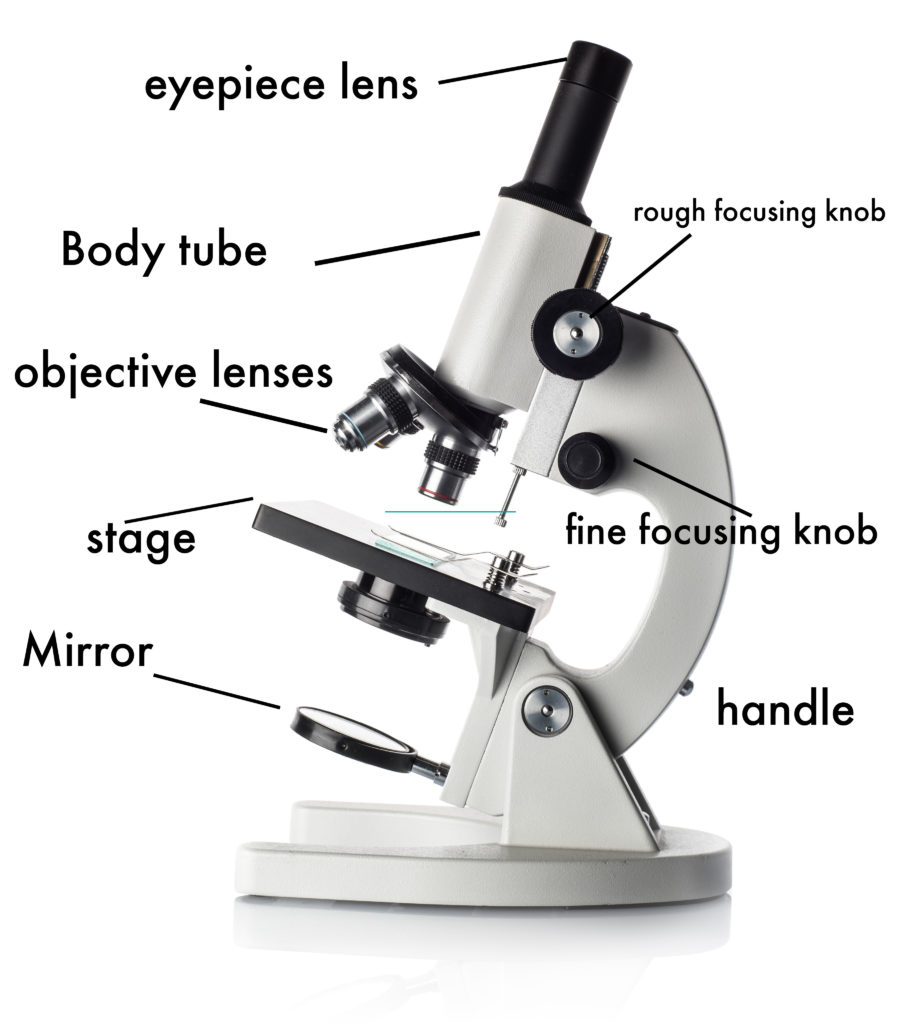
Remember
Take care not to let the objective lens crash into the slide.
How do you calculate magnification
Total magnification = eyepiece magnification x object lens magnification
Challenge
Draw what you can see and ask a friend if they can guess what it is!
Make a simple magnifying glass with a plastic bottle!
IQCREW by Amscope – Premium Microscope and Camera Kit
This premium 85+ piece microscope microscope from Amscope is fantastic and a great plug and play STEM tool. It comes with both blank and pre prepared slides, so children have something to look at straight away, but can also learn how to prepare their own slides too.
Everything comes in a handy box, which is great for keeping all the bits together.
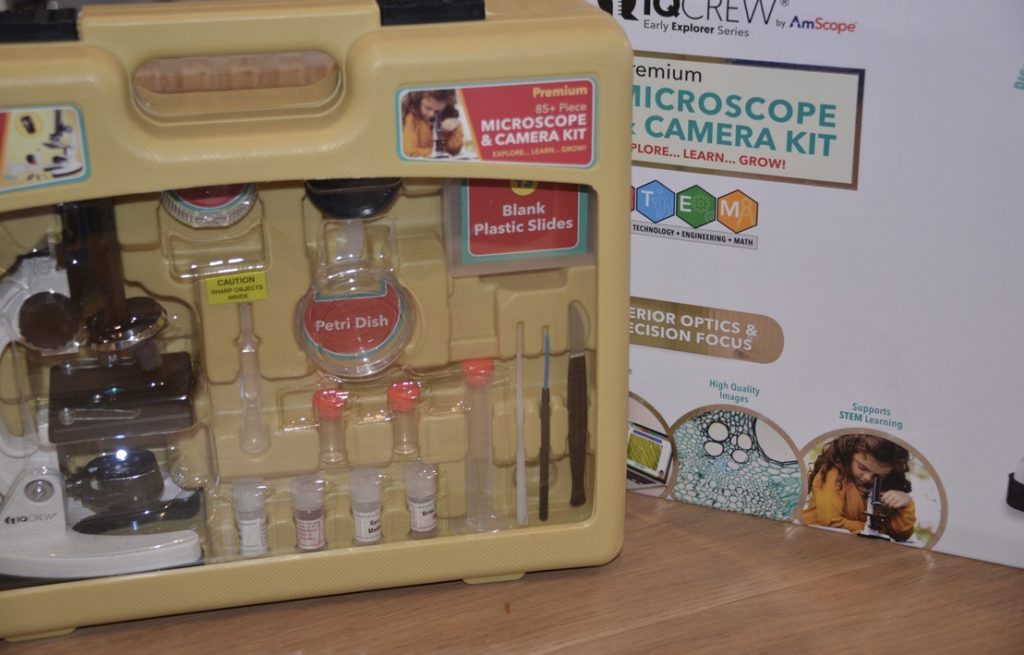
We especially love the colour digital eyepiece camera which allowed us to see images on the computer straight away rather than looking down the microscope all the time.
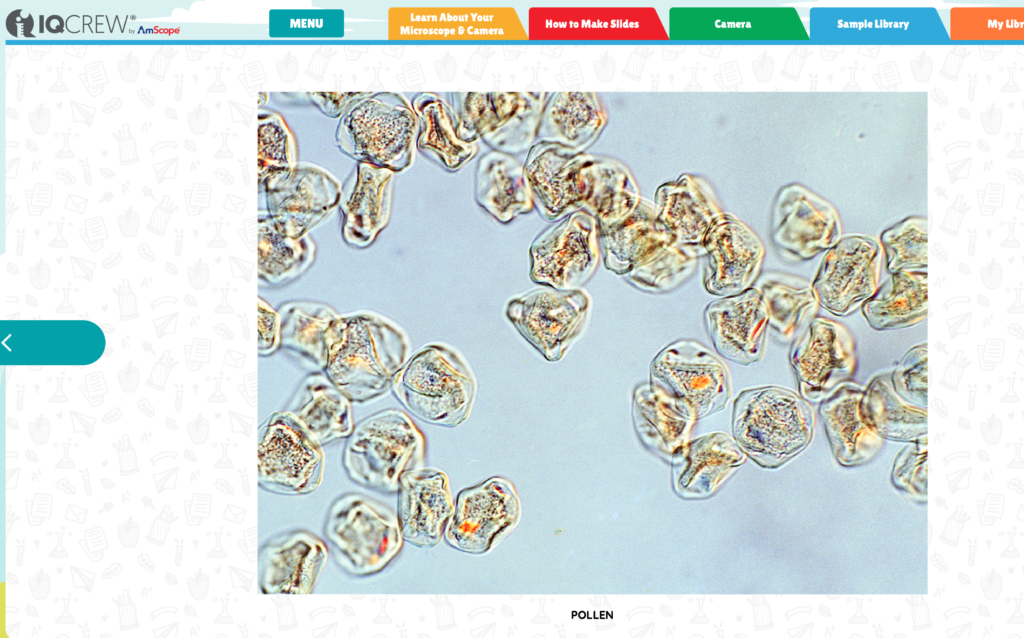
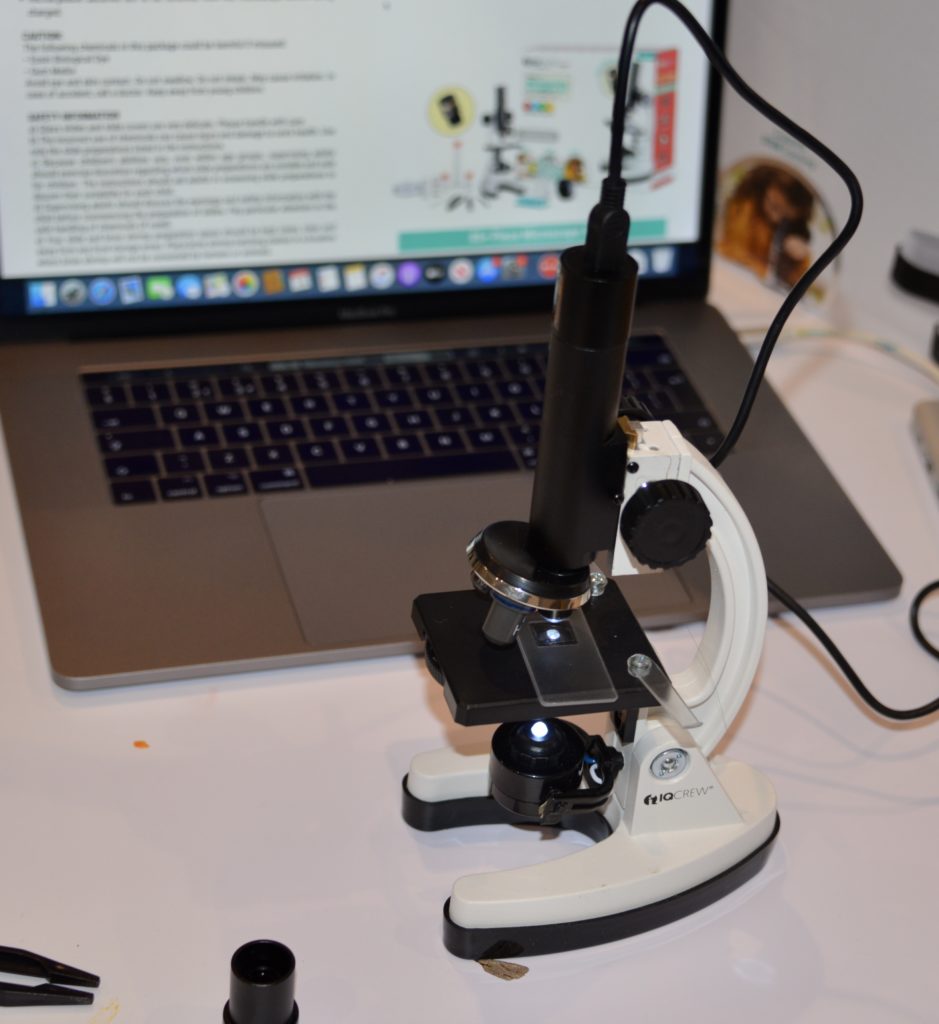
The Amscope camera software is easy to use and guides children through using the microscope, preparing slides and also has a brilliant library of sample specimen images and an interactive real-time specimen image editing page too!

The magnifications range from 120X up to 1200X and the easy focus system, two light sources, and built-in colour filter wheel make it very easy to use. My 10 year old has already spent hours finding things to look at and learned so much. I know this is something we will keep coming back to for years. She’s also very excited about trying the other activities included in the set including growing crystals and hatching shrimps!
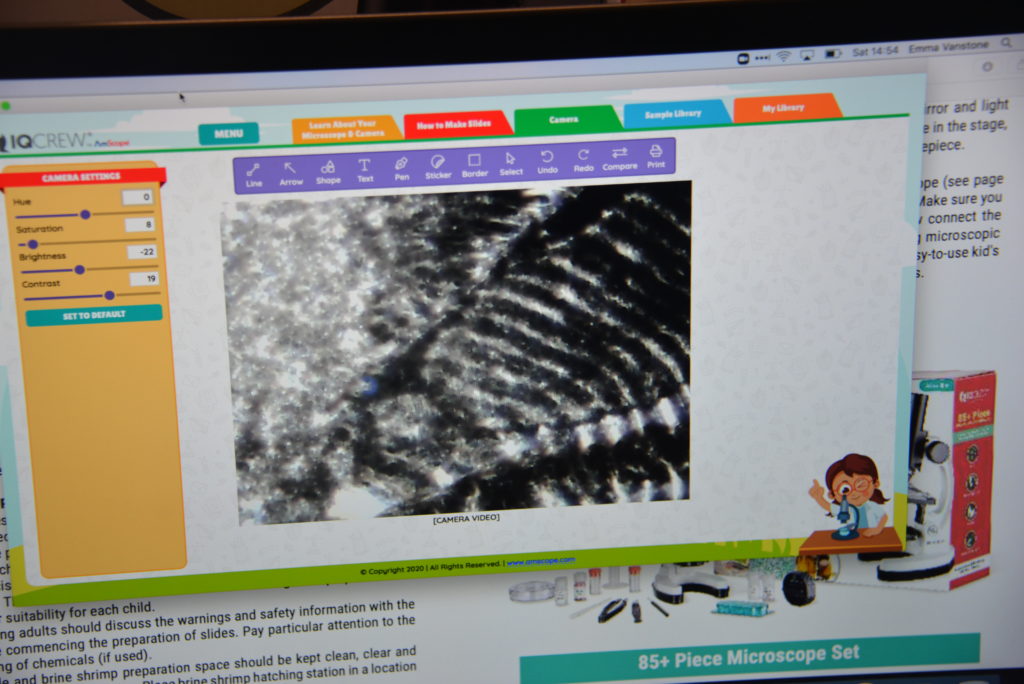
This is an image of the wings of a moth that we took.
We were kindly sent the microscope from Amscope to review
Last Updated on November 20, 2020 by Emma Vanstone

Leave a Reply