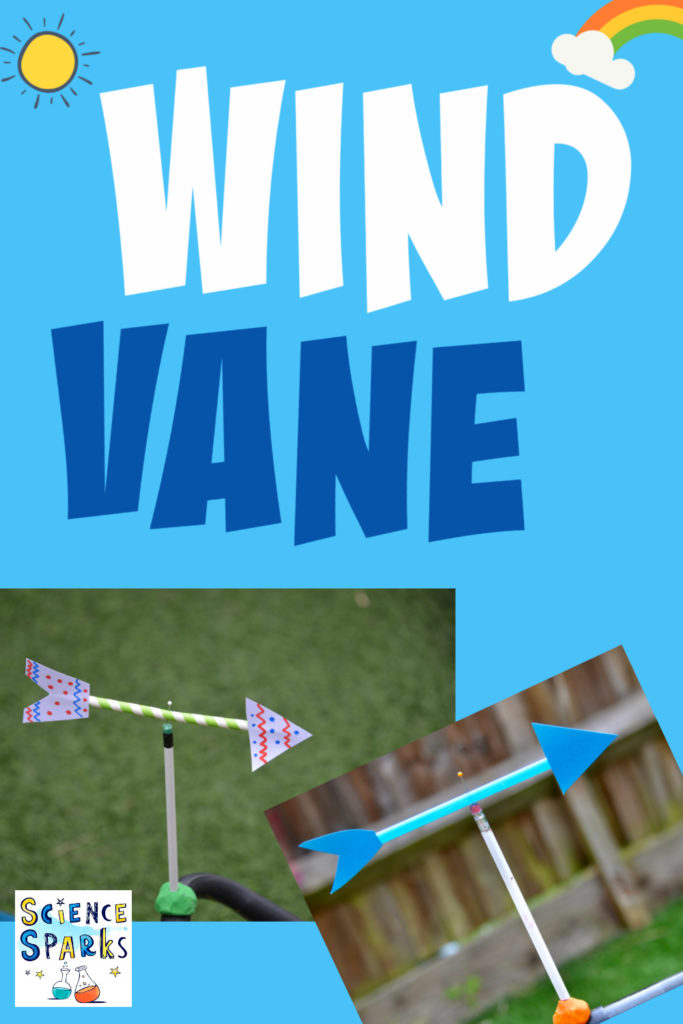
A wind vane ( sometimes known as a weather vane ) is used to show the direction of the wind. Wind vanes are mounted so they can spin under the influence of the wind.
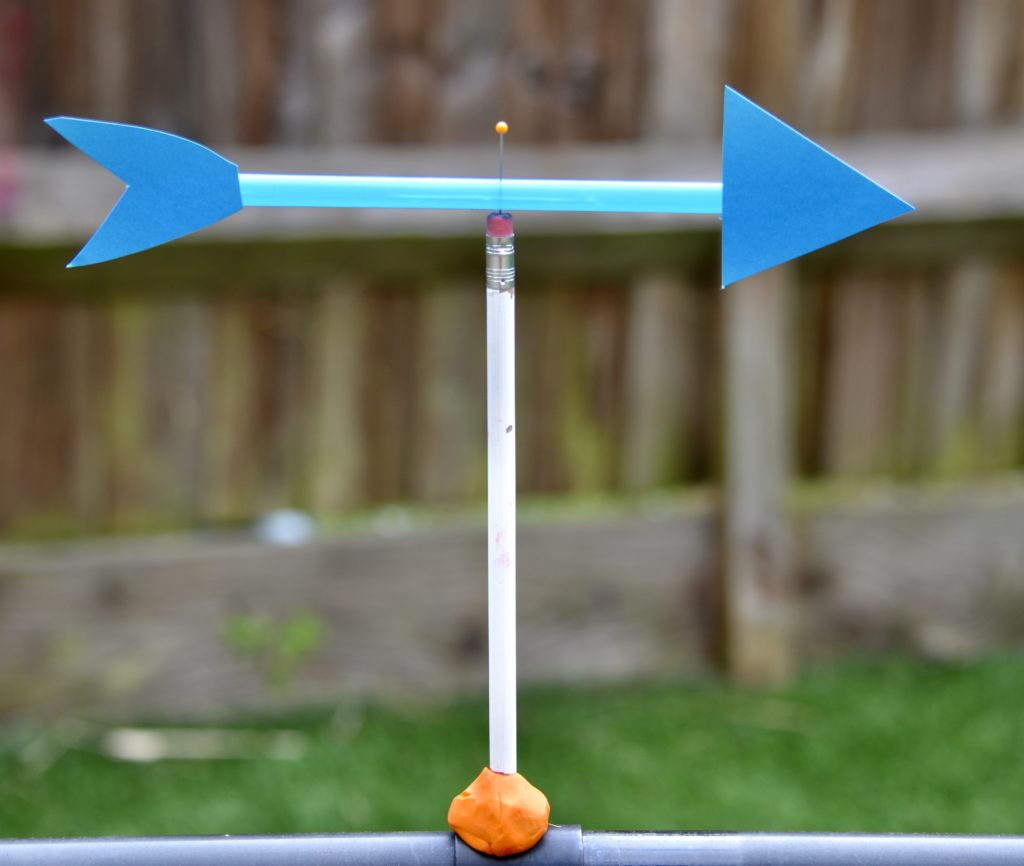
This very simple wind vane is made by attaching a straw to the eraser end of a pencil with a pin allowing it to spin freely.
Wind direction is just one factor used to predict the weather. Temperature, wind speed, pressure and humidity are also used.
If you like this post you’ll love my full collection of weather science experiments.
How to make a wind vane
You’ll need
A pencil with an eraser on top.
Straw
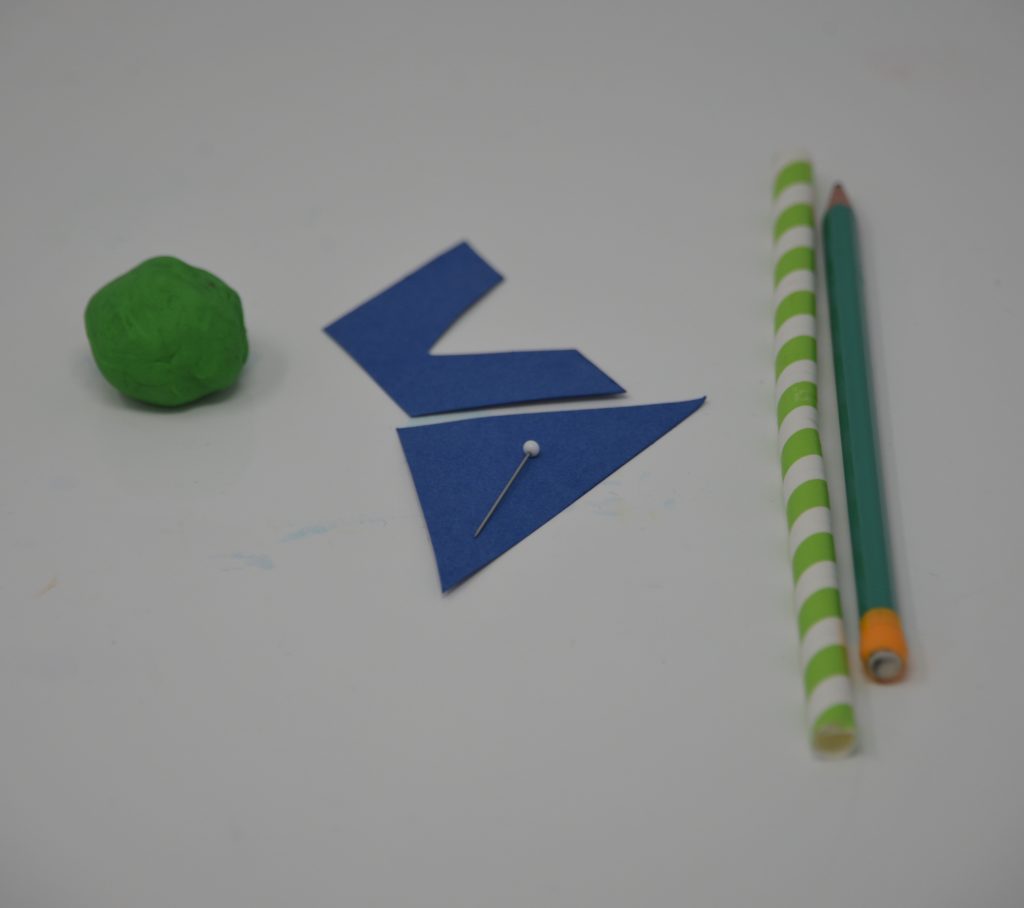
Card cut into the shapes below
A pin
Plasticine or play dough
Tape

Instructions
Cut out the card shapes for each end of the wind vane and fix in place with tape or glue. The arrow end needs to be a little bigger than the tail end to ensure it is pushed by the wind to point in the direction the wind blows.
Roll the plasticine into a ball and push the pencil in with the top in the plasticine.
Carefully ( ask an adult to help ) push the pin through the straw into the eraser.
Make sure the straw can spin freely.
Choose a spot outside that’s isn’t sheltered from the wind and watch as the wind vane spins.
Use a compass to work out which way the wind is blowing.

More weather experiments for kids
Make a super simple rain gauge to measure rainfall.
Can you blow down the Three Little Pigs house?
There’s Just one Mommy has a brilliant wind anemometer you can make to measure wind speed.
Make a weather station using pine cones.

Last Updated on August 21, 2021 by Emma Vanstone


Leave a Reply