A Halloween Candy Grabber is a great STEM challenge for Halloween. Children can investigate by making the grabber shorter and longer or adding extra pieces like easy to hold handles or extra grippy bits on the claw part.
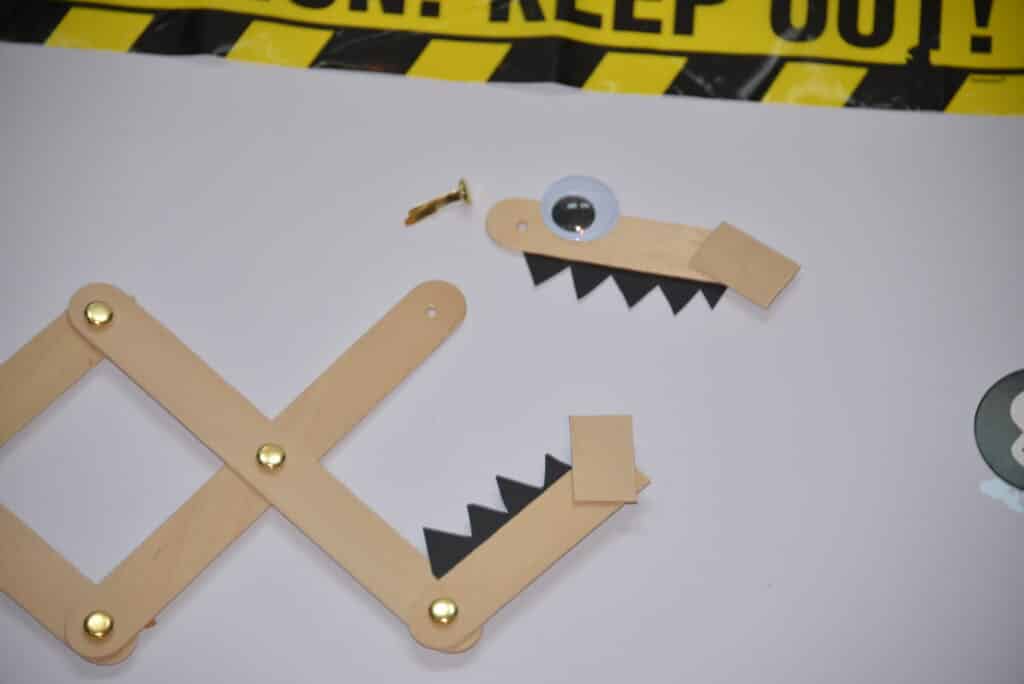
I added some teeth and an eye to make my grabber look more Halloween like, but you could make yours much scarier or just leave out the decorations all together!
If you don’t want to use craft sticks, thick cardboard cut into strips also works well. Cardboard also has the advantage of allowing you to use a pencil to make the holes for the split pins.
You’ll need
8-12 crafts sticks
Split pins
Drill to make the holes
Double sided tape
Googley eyes and other decorations – optional
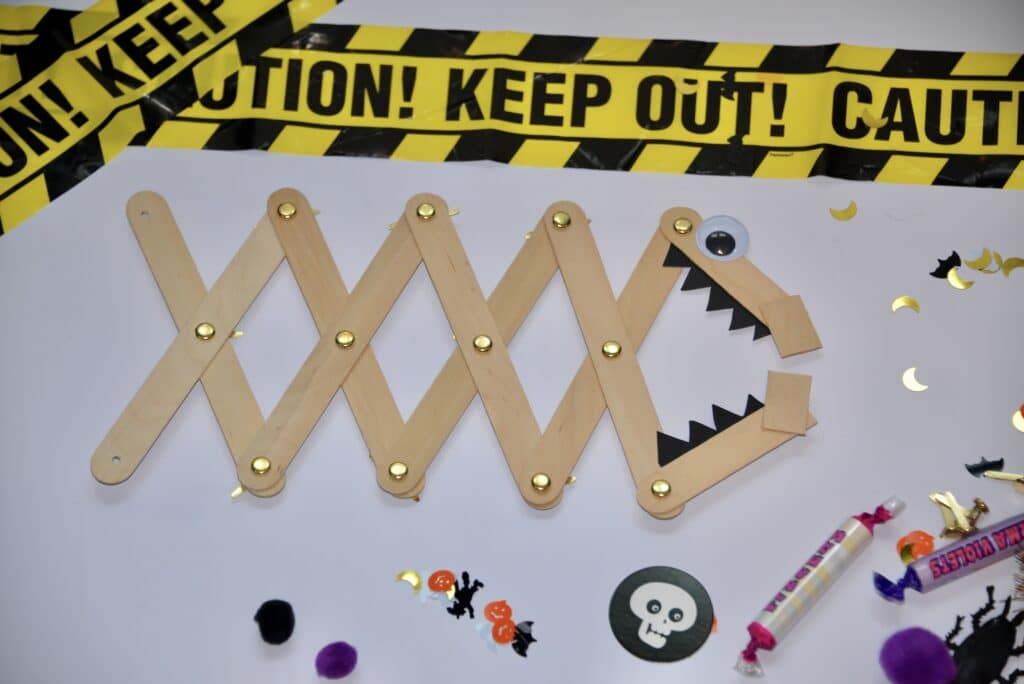
How to make a Halloween candy grabber
Step 1
Lay out the craft sticks and ask an adult to help drill a hole into both ends and the centre of each stick.
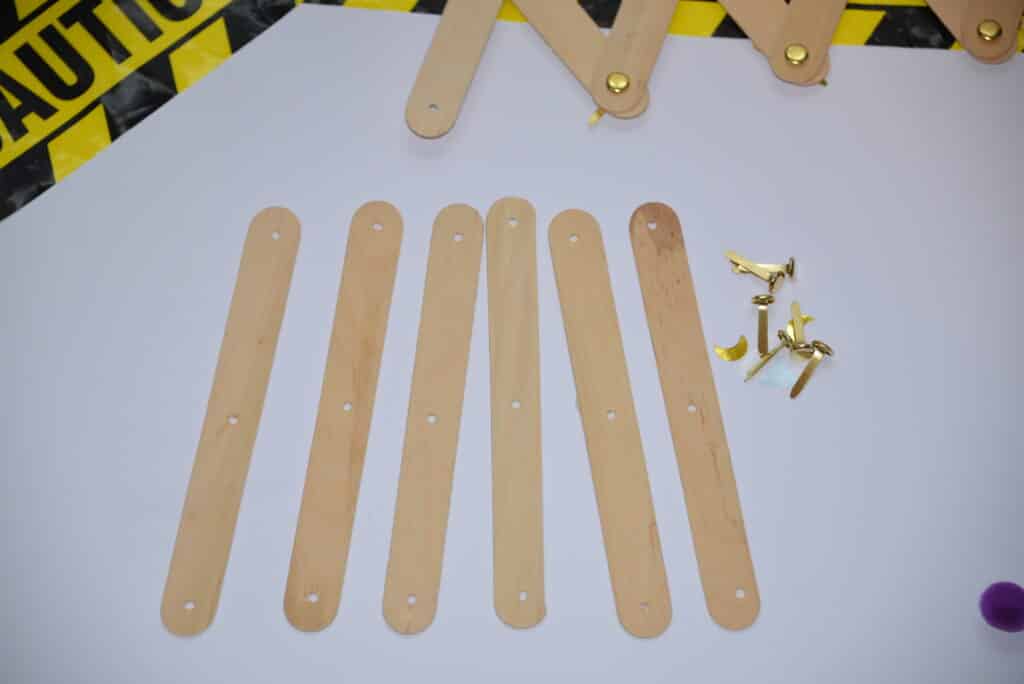
Step 2
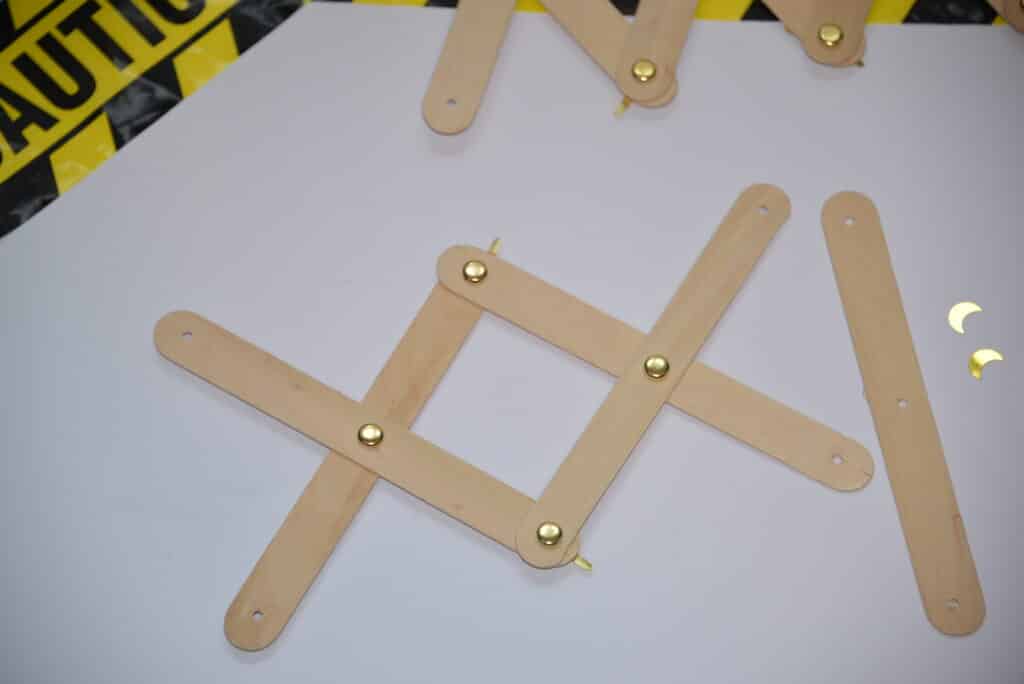
Lay out the craft sticks like the image below, placing the holes over each other.
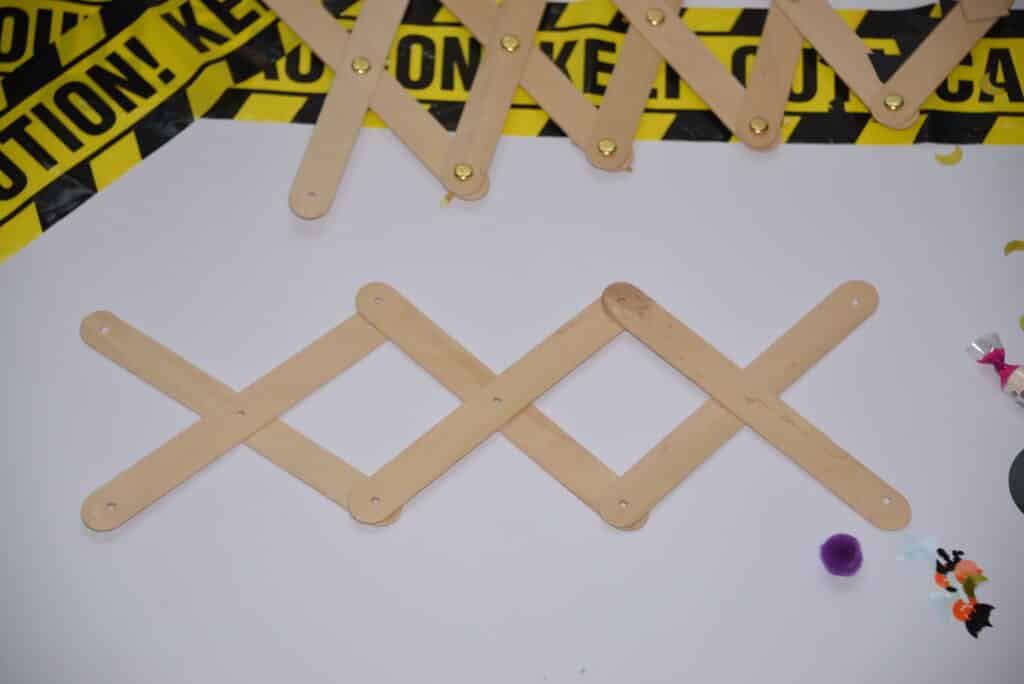
Step 3
Place a split pin through the centre holes of two craft sticks and check the sticks can move freely.
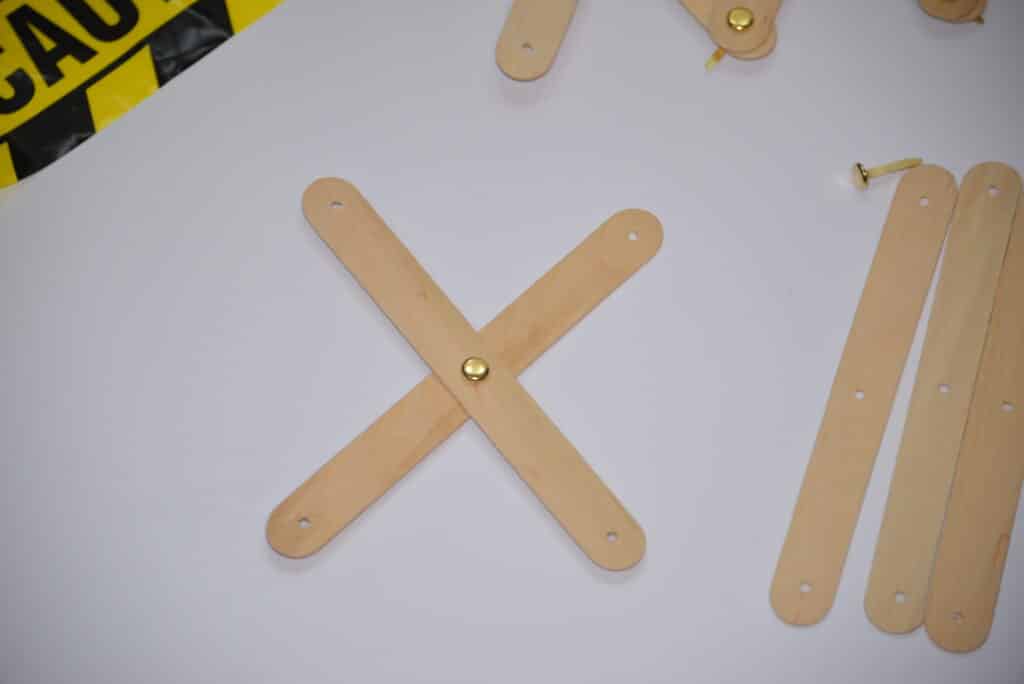
Step 4
Use the split pins to attach the craft sticks to each other, as in the image below. Continue until you have at least six craft sticks attached together.
Step 5
Carefully cut one craft stick in half and attach both pieces to one end of the grabber. These can be fixed in place with either a split pin or glued.
The teeth and eye decorations are optional!
Step 7
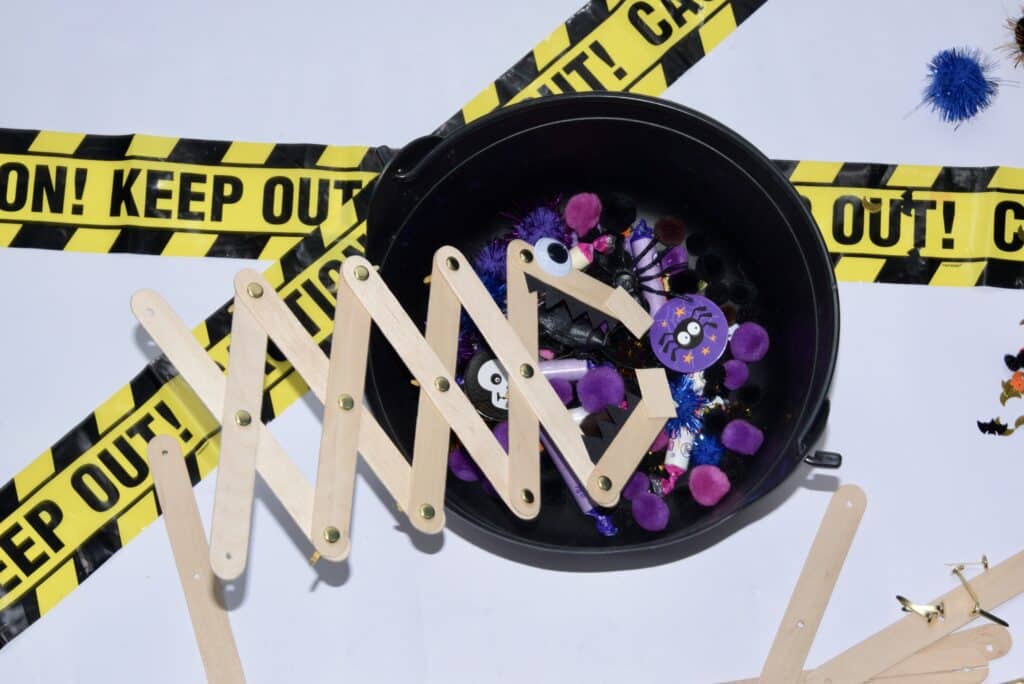
Test your grabber by pushing the two non-decorated ends together. It should extend outwards.

More STEM ideas for Halloween
Try an articulated grabber made with cardboard.
Design and build a spider drawing robot.
Or try one of my other spooky science experiments for Halloween!
Last Updated on October 3, 2024 by Emma Vanstone

Leave a Reply